Last Updated: July 17, 2026
If you have noticed a hole in your stucco, fear not! In this article, we will guide you through the process of repairing that unsightly gap. Whether it was caused by weather damage, accidents, or even an overenthusiastic pet, you can easily restore the smooth surface of your stucco with just a few simple steps. Don’t let that hole bring down the overall appearance of your home – let’s get started on repairing it!
Comprehensive Overview of Stucco Hole Repair
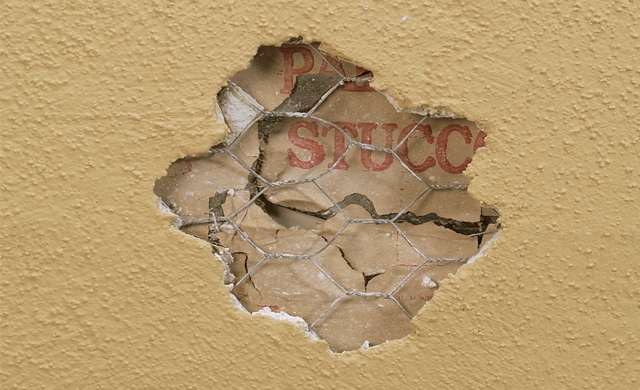
Stucco is a popular exterior finish for many homes, known for its durability and aesthetic appeal. However, over time, stucco can develop holes or other damage that may compromise its integrity and appearance. This article will guide you through the process of repairing stucco holes, from assessing the damage to applying the necessary repairs. We will also discuss the importance of regular stucco maintenance and share tips for successful DIY repairs.
Explaining What Stucco Is
Stucco is a mixture of cement, sand, and water that is applied to the exterior of a building. It is a highly versatile material that can be molded into various shapes and textures. When properly installed, stucco can provide a durable and low-maintenance finish that can withstand the elements.
Importance of Regular Stucco Maintenance
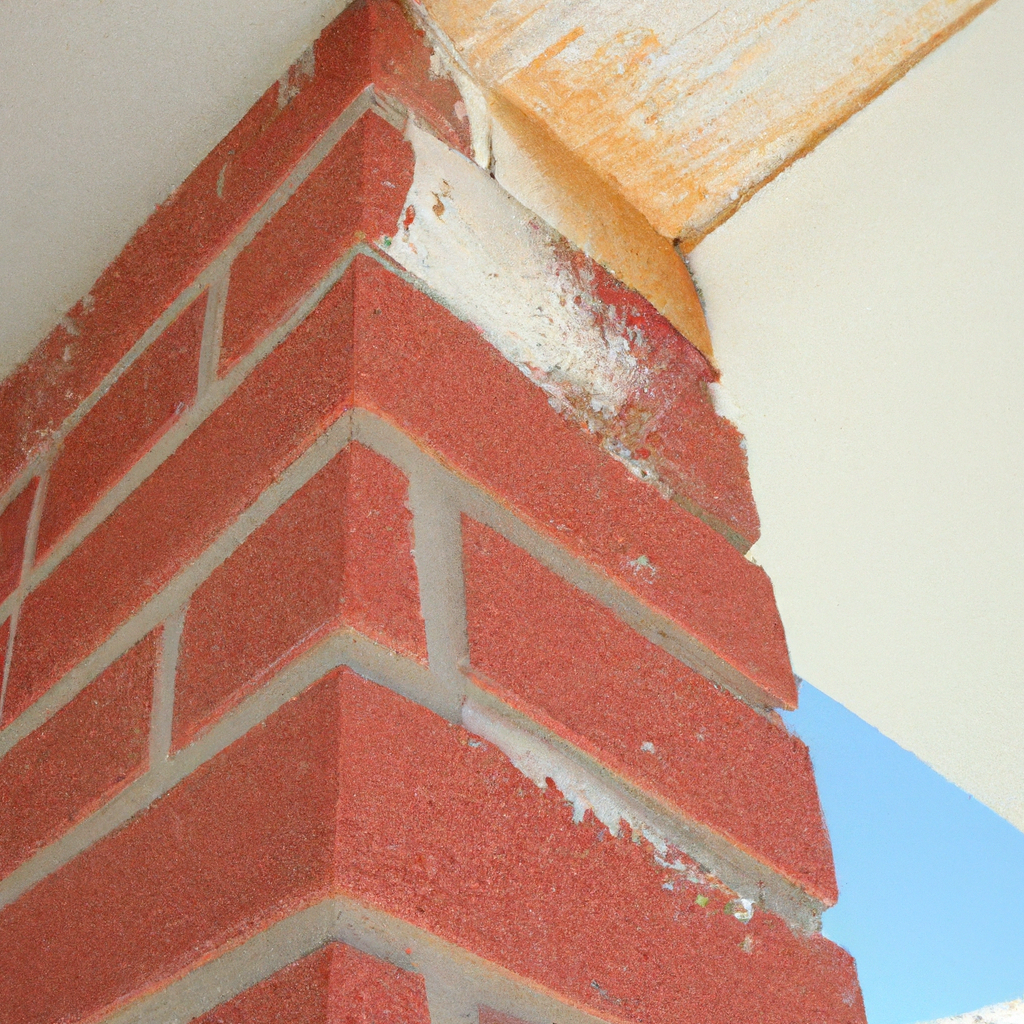
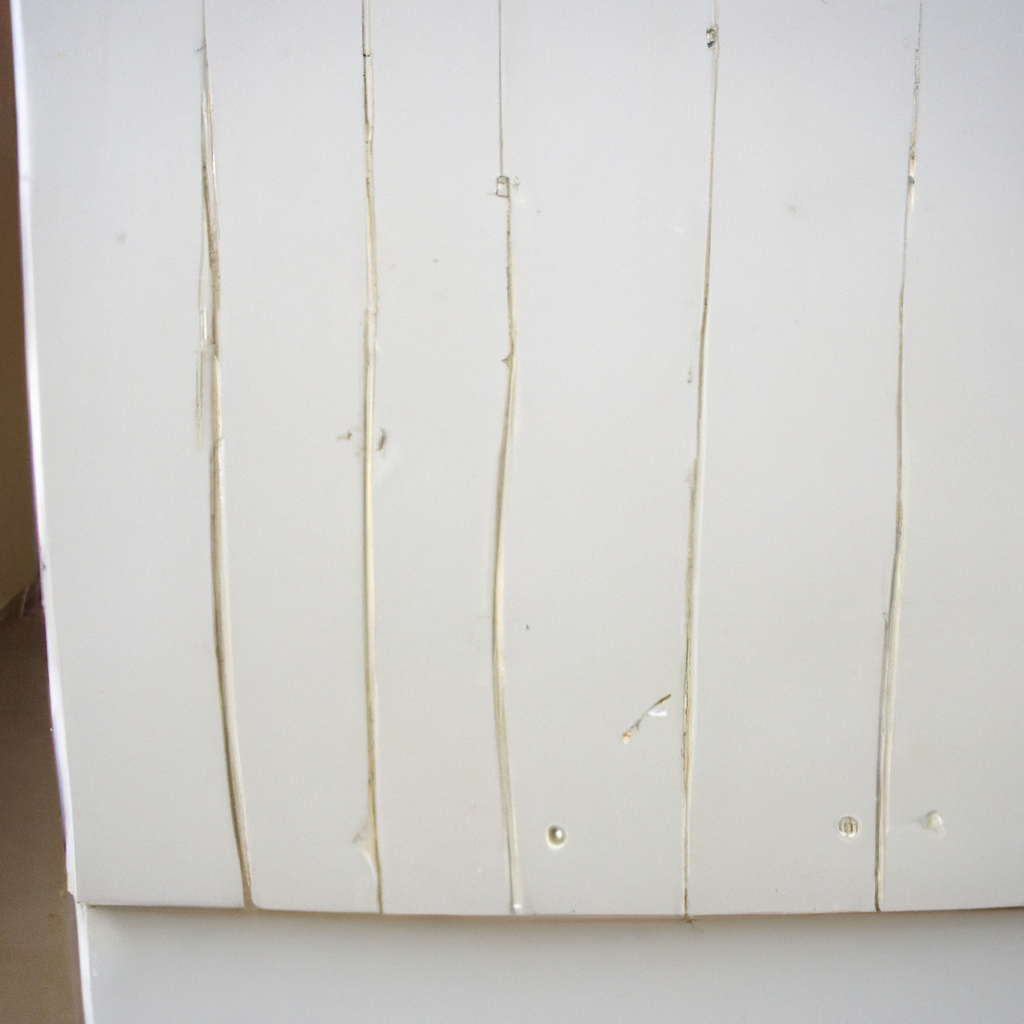
Maintaining the stucco exterior of your home is crucial for several reasons. First and foremost, regular maintenance helps to preserve the appearance of your home. Stucco can develop cracks and holes over time, which not only detracts from the overall aesthetics but can also allow moisture to penetrate the surface and cause further damage.
Additionally, properly maintained stucco can help protect the underlying structure of your home. By addressing any issues promptly and maintaining a watertight barrier, you can prevent moisture from seeping into the walls and potentially causing structural damage.
Common Causes of Stucco Holes
Stucco holes can be caused by a variety of factors, including:
- Impact damage: Holes may result from accidental impacts, such as a stray baseball or lawnmower debris hitting the stucco.
- Settling or shifting: Over time, a home may settle or experience movement due to soil conditions, which can lead to cracks and holes in the stucco.
- Water damage: If the drainage system around your home is faulty or inadequate, water can accumulate behind the stucco and cause deterioration and holes.
- Wear and tear: Exposure to harsh weather conditions, including wind, rain, and sun, can gradually degrade the stucco, creating holes and cracks.
According to a study by the Home Improvement Research Institute, 35% of homeowners experienced stucco damage due to environmental factors within ten years of installation.
Assessment and Preparation for Stucco Repair
Inspecting the Damage on Stucco
The first step in repairing stucco holes is to thoroughly inspect the damage. Walk around the exterior of your home, paying close attention to areas with visible holes or cracks. Take note of the size and location of each damaged area. This will help you determine the extent of the repairs needed and plan accordingly.
Determining Repair Extent and Requirements
Once you have assessed the damage, you can determine whether you are dealing with small or large stucco holes. Small holes are typically less than 1 inch in diameter, while large holes may exceed that size or require more extensive repairs. This distinction will influence the repair method you choose and the materials you will need.
Gathering Tools and Materials for Stucco Repair
Before starting the repair process, gather all the necessary tools and materials. You will need the following:
- Stucco patching compound: Choose a high-quality patching compound that matches the color and texture of your existing stucco.
- Trowel: A trowel is essential for applying and smoothing the patching compound.
- Wire brush: Use a wire brush to clean the damaged area and remove any loose debris or old stucco.
- Bucket and water: You will need water to mix with the stucco patching compound.
- Ladder: Depending on the location of the damaged area, you may need a ladder to reach it safely.
- Plastic sheeting and painter’s tape: These will be used to protect nearby surfaces from splatters or drips during the repair process.
Now that you have gathered your tools and materials, it’s time to prepare the surrounding area for the stucco repair.
Preparation of Surrounding Areas for Repair
Protecting Nearby Surfaces During Repair
Before starting any repair work, it’s essential to protect nearby surfaces from potential damage. Cover windows, doors, or any other adjacent surfaces with plastic sheeting and secure it in place with painter’s tape. This will prevent the patching compound from getting on unintended areas and make the cleanup process easier.
Clearing and Preparing Area Around the Hole
Ensure that the area surrounding the stucco hole is clear of any loose debris or dirt. Use a broom or brush to sweep away any debris and create a clean surface for the repair.
Securing Electrical Outlets and Fixtures
If the stucco hole is near electrical outlets or fixtures, it is crucial to cover them properly to avoid any damage or accidents. Use plastic sheeting or painter’s tape to cover electrical outlets or fixtures, ensuring that they are completely protected.
With the surrounding area prepared, you are ready to start repairing small stucco holes.
Guide to Repairing Small Stucco Holes
Steps for Cleaning the Stucco Hole
Start by cleaning the hole using a wire brush. Remove any loose stucco or debris, and ensure the edges of the hole are clean and smooth. This will help the patching compound adhere properly to the existing stucco.
Applying the Stucco Patching Compound
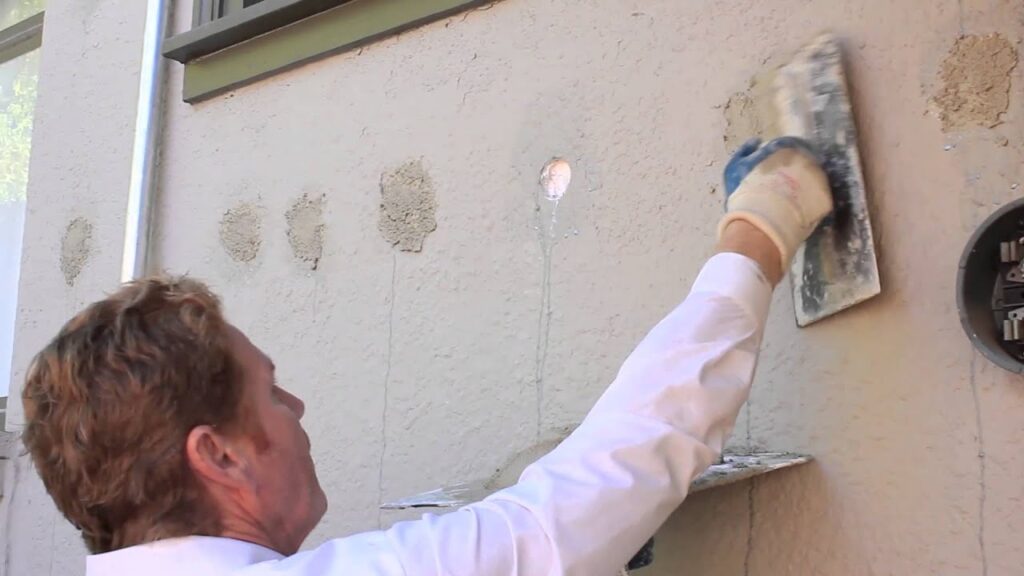
Mix the stucco patching compound according to the manufacturer’s instructions. Once mixed, apply the compound to the hole using a trowel. Fill the hole completely, ensuring that the patching compound is level with the surrounding stucco surface.
Smoothing and Blending the Patch
After applying the patching compound, use the trowel to smooth and blend it with the surrounding stucco. Feather the edges of the patch to create a seamless transition between the new and existing stucco. Allow the patch to dry according to the manufacturer’s instructions before proceeding to the next step.
Repairing large stucco holes requires a slightly different approach. Let’s explore the process in detail.
Advanced Techniques for Repairing Large Stucco Holes
Creating a Secure Anchor for Large Patches
For larger stucco holes, it’s important to create an anchor for the patch to ensure a strong and long-lasting repair. Start by using a masonry bit to drill several holes into the edges of the hole. These holes will serve as anchors for the patching compound.
Applying the Initial Base Coat
Mix the stucco base coat according to the manufacturer’s instructions. Apply the base coat to the drilled holes using a trowel, ensuring that they are completely filled. Smooth the base coat to create a uniform surface.
Finishing with the Final Coat
Once the base coat has cured, it’s time to apply the finish coat of stucco. Mix the finish coat according to the manufacturer’s instructions, and apply it to the patched area using a trowel. Feather the edges of the finish coat to blend it with the surrounding stucco. Allow the finish coat to dry and cure completely before moving on to the next step.
With the stucco repaired, it’s important to allow it to cure properly before adding the finishing touches.
Curing the Repair and Finishing Touches
Ensuring Proper Curing of Stucco
After applying the stucco patch, it’s crucial to allow it to cure fully before proceeding to the next steps. Follow the manufacturer’s instructions for the recommended curing time. This will ensure that the repaired stucco is strong and stable.
Final Steps: Applying Primer and Paint
Once the stucco has cured, apply a primer to the repaired area to provide a smooth and even surface for painting. After the primer has dried, apply a coat or two of paint that matches the surrounding stucco. This will help the repair blend seamlessly with the existing finish.
Inspection and Cleanup of Repair Site
After completing the repair, clean up any remaining debris or tools from the area. Take a step back and inspect the repair to ensure that it matches the surrounding stucco and that there are no visible imperfections. If necessary, make any final adjustments or touch-ups for a flawless finish.
Long-Term Prevention and Regular Maintenance
Effective Strategies for Stucco Maintenance
In addition to repairing any stucco damage promptly, it’s vital to maintain the overall condition of your stucco exterior. Regularly inspect your home’s stucco for any signs of cracks, holes, or deterioration. Clean the stucco surface regularly to remove dirt and debris that can lead to damage over time.
Addressing Stucco Issues Promptly
When you notice any stucco damage, it’s important to address it promptly to prevent further deterioration. Small cracks or holes can quickly worsen if left unattended, so make the necessary repairs as soon as possible.
Sealing and Waterproofing Techniques for Stucco
To enhance the longevity of your stucco, consider applying a sealant or waterproof coating. These products can provide an additional layer of protection against moisture infiltration and help prevent future damage.
Expert Advice on Hiring a Professional
Determining When Professional Help is Needed
While small stucco repairs can often be done as a DIY project, larger or more extensive damage may require professional expertise. If you feel unsure about your ability to perform the repair yourself or if the damage is significant, it is best to consult a professional stucco repair contractor.
Finding and Evaluating a Stucco Contractor
When looking for a contractor, seek recommendations from friends, family, or neighbors who have had stucco repairs done. Research online reviews and check for proper licensing and insurance. Request quotes from multiple contractors to compare prices and services.
Obtaining Estimates and Scheduling Repairs
Once you have chosen a stucco repair contractor, schedule an appointment for them to assess the damage and provide a cost estimate. Discuss your repair needs thoroughly and ask any questions you may have. Once you have agreed upon the scope and cost of the repair, schedule the repair at a convenient time.
Avoiding Common Repair Mistakes
Ensuring Correct Stucco Mix Ratios
Using incorrect stucco mix ratios can result in a weak repair that may not hold up over time. Always follow the manufacturer’s instructions and mix the stucco patching compound according to the recommended ratios.
Importance of Proper Surface Preparation
Properly preparing the damaged area for repairs is crucial to ensure a strong bond between the patching compound and the existing stucco. Failing to clean the hole or create an anchor for larger repairs can lead to subpar results.
Addressing Underlying Causes of Damage
When repairing stucco holes, it’s important to address any underlying issues that contributed to the damage. For example, if poor drainage caused the stucco to deteriorate, simply patching the holes will not solve the problem. Identify and address the root cause to prevent future damage.
Final Thoughts and Recommendations
Repairing stucco holes can be a straightforward process with the right tools and knowledge. Regular maintenance and prompt repairs are key to preserving the beauty and integrity of your home’s exterior. By following the steps outlined in this article and avoiding common mistakes, you can achieve successful DIY stucco repairs and ensure the longevity of your stucco finish. Remember, when in doubt, it’s always wise to consult a professional stucco repair contractor to guarantee the best possible outcome.
Frequently Asked Questions (FAQ)
How often should I inspect my stucco exterior?
It’s recommended to inspect your stucco exterior at least once a year. Regular inspections help you spot potential damage early, preventing larger issues and costly repairs.
Can I paint over a stucco patch immediately?
No, it’s essential to allow the stucco patch to cure completely before painting. Check the manufacturer’s guide for the recommended curing time, which typically ranges from 24 to 48 hours.
What is the best season for stucco repair?
The ideal time for stucco repair is during mild weather, either in the spring or fall. Moderate temperatures and low humidity levels ensure optimal curing and bonding conditions for the patch.
Are there any environmental concerns with stucco repair?
Modern stucco materials are generally environmentally friendly, made from natural elements like sand and cement. However, consider using low VOC (volatile organic compound) products when painting or sealing stucco to reduce environmental impact.
What should I do if I find mold growth in my stucco?
If you find mold growth, it is best to contact a professional immediately. Mold can compromise the integrity of stucco and often indicates a deeper moisture problem that needs to be addressed.
Can I use regular cement for stucco repair?
Regular cement is not recommended for stucco repair because it lacks the flexibility and specific texture required for stucco finishes. Use a stucco patching compound designed for this purpose to ensure a aesthetic and durable repair.
Why is my new stucco patch darker than the existing stucco?
New stucco patches often appear darker at first but should blend over time. If the color difference remains, consider applying a uniform coat of matching paint over both the new and existing areas for consistency.