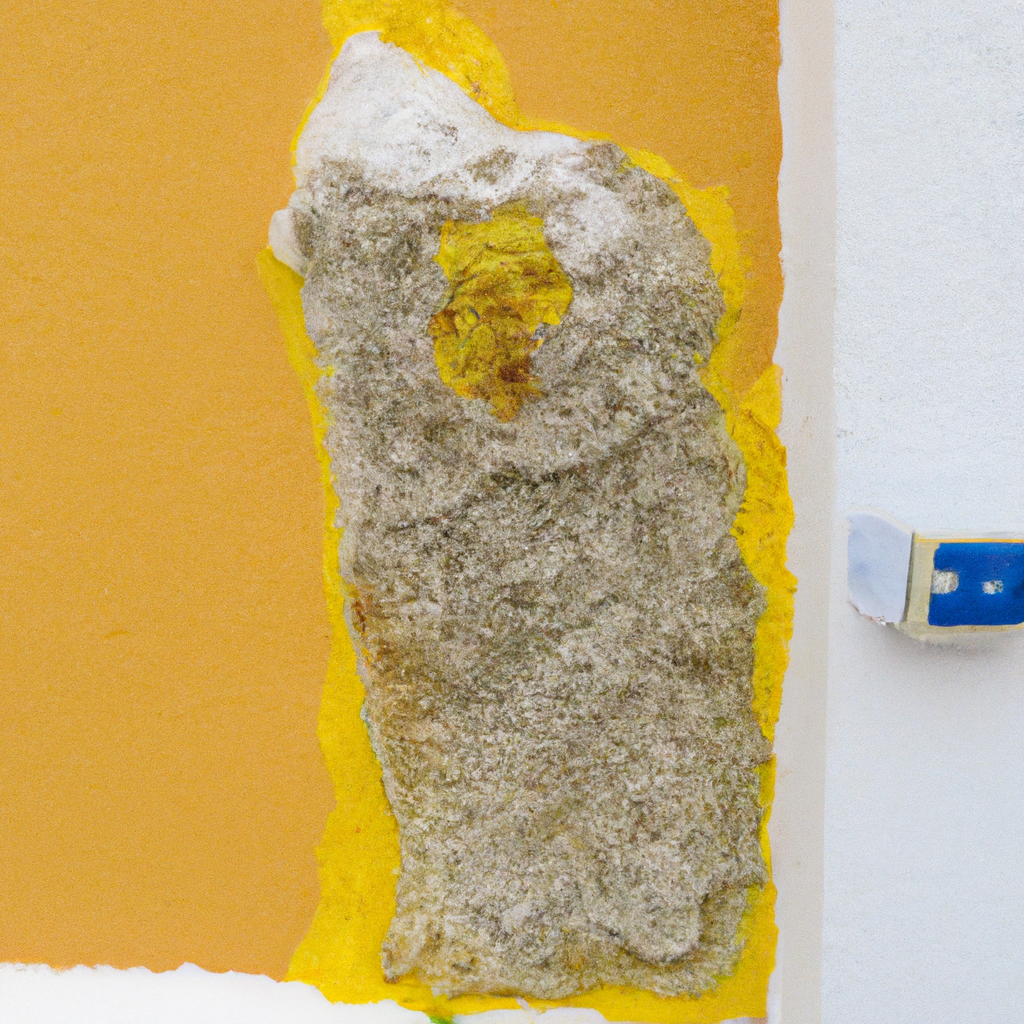
You’re no stranger to the frustration of finding unexpected holes in your stucco walls. Whether caused by age, weather, or other mishaps, these unsightly blemishes are a constant reminder of the need for repair. But fear not, because help is at hand. In this article, we will explore the world of stucco hole repair and provide you with valuable tips and techniques to restore the beauty of your walls. From understanding the different types of stucco damage to learning step-by-step instructions on how to fix them, we’ve got you covered. Say goodbye to those unsightly holes and hello to a flawless stucco finish.
Preparing for Stucco Hole Repair
When it comes to repairing stucco holes, proper preparation is key to ensuring a successful and long-lasting repair. Before you dive into the repair process, it is important to assess the damage and gather all the necessary tools and materials.
Assessing the Damage
The first step in preparing for stucco hole repair is assessing the extent of the damage. Carefully examine the affected area to determine the size and severity of the hole. Is it a small hole or a larger one? Are there any underlying issues that may have caused the damage, such as water leaks or structural problems? Taking note of these factors will help you determine the best approach for repairing the stucco hole.
Gathering the Necessary Tools and Materials
Once you have assessed the damage, it’s time to gather the tools and materials needed for the repair. The specific tools and materials required will depend on the size and complexity of the repair, but here are some commonly used items:
- Hammer
- Chisel
- Wire brush
- Stucco patching material
- Trowel
- Sandpaper
- Primer
- Paint
- Protective gear (such as gloves, goggles, and a dust mask)
Having all the necessary tools and materials on hand will make the repair process much smoother and efficient.
Patch Selection and Preparation
After assessing the damage and gathering the tools, the next step is to select the right patching material and prepare the stucco surface for patching.
Choosing the Right Patching Material
Choosing the right patching material is crucial for a successful stucco hole repair. The patching material should match the composition and texture of the existing stucco to ensure a seamless blend. There are various types of patching materials available, including premixed stucco patching compounds and traditional cement-based mixes. Consider the size of the hole, the climate in your area, and the desired finish when selecting the patching material.
Preparing the Stucco Surface for Patching
Before applying the patching material, it is essential to prepare the stucco surface properly. Start by cleaning the area around the hole using a wire brush to remove any loose debris, dirt, or old paint. This will ensure better adhesion of the patching material. If there are any cracks in the surrounding stucco, widen them slightly with a chisel to create a V-shaped groove. This will help the patching material adhere better and prevent future cracks.
Repairing Small Stucco Holes
For small stucco holes, the repair process is relatively straightforward. Follow these steps to effectively repair small holes in your stucco:
Cleaning the Hole
Begin by cleaning the hole itself. Use a wire brush or a small brush to remove any loose debris or dust from the hole. Making sure the hole is clean will allow the patching material to adhere properly.
Applying the Patching Material to Small Holes
Once the hole is clean, apply the patching material using a trowel. Press the material firmly into the hole, making sure to fill it completely. Smooth the patching material with the trowel, blending it seamlessly with the surrounding stucco. Allow the patch to dry according to the manufacturer’s instructions.
Repairing Large Stucco Holes
Repairing large stucco holes requires a slightly different approach and may involve additional steps to ensure a strong and durable repair.
Cutting a Clean Opening
To repair a large stucco hole, start by cutting a clean opening using a chisel or a saw. This step is necessary to create a smooth and defined edge for the patching material to adhere to. Carefully shape the opening into a square or rectangular shape, removing any loose or damaged stucco.
Inserting Backing Material
Next, insert backing material into the hole. This can be a piece of wood or foam board cut to fit snugly inside the opening. The backing material provides support and stability to the patching material, preventing cracks and ensuring a long-lasting repair.
Filling the Hole with Patching Material
Once the backing material is in place, fill the hole with the chosen patching material. Use a trowel to press the patching material firmly into the hole, ensuring it is evenly distributed and fills the entire opening. Smooth the surface with the trowel, blending it with the surrounding stucco. Allow the patch to cure according to the manufacturer’s instructions.
Curing and Finishing the Patch
After the patching material has been applied, it is important to allow it to cure before proceeding with further finishing steps.
Allowing the Patch to Cure
Curing time can vary depending on the type of patching material used, so it is crucial to follow the manufacturer’s instructions regarding curing time. During this period, it is important to protect the patch from any potential damage or disturbance by avoiding contact or applying pressure.
Sanding and Smoothing the Patched Area
Once the patch has fully cured, use sandpaper to smooth the surface of the repaired area. Start with a coarse-grit sandpaper to level any unevenness and gradually transition to finer-grit sandpaper for a smoother finish. Be careful not to sand too aggressively, as you may inadvertently damage the surrounding stucco. Wipe away any dust or debris with a clean cloth.
Painting and Blending the Patched Area
To achieve a seamless and aesthetically pleasing repair, it is necessary to paint and blend the patched area with the existing stucco finish.
Matching the Stucco Color
Before painting, make sure to match the color of the patching material with the existing stucco. You can do this by taking a sample of the existing stucco to a paint store and asking them to provide a color match. Having an accurate color match will ensure that the repaired area blends in seamlessly with the rest of the wall.
Applying a Primer
Once you have the matching paint, it is necessary to apply a primer to the patched area. Priming the patch will enhance the adhesion of the paint and promote a more even and long-lasting finish. Use a brush or roller to apply the primer, following the manufacturer’s instructions. Allow the primer to dry completely before proceeding with the final paint application.
Painting and Blending the Patched Area
After the primer has dried, it’s time to paint and blend the patched area with the surrounding stucco. Use a paintbrush or roller to apply the paint, ensuring an even and smooth finish. Feather the edges of the painted area to blend it seamlessly with the existing stucco. Allow the paint to dry completely before considering any touch-ups or additional coats if needed.

Preventing Future Stucco Holes
While repairing stucco holes is important, taking steps to prevent future damage is equally crucial. By identifying and addressing underlying issues and applying protective coatings, you can minimize the chances of encountering stucco holes in the future.
Identifying and Fixing Underlying Issues
Stucco holes can be a symptom of underlying issues such as water leaks, improper installation, or structural problems. It is essential to identify and fix these underlying issues to prevent further damage. Inspect your property regularly for signs of water intrusion or movement, and address any issues promptly to ensure the long-term integrity of your stucco.
Applying Protective Coatings
Applying protective coatings to your stucco can significantly extend its lifespan and prevent future damage. These coatings act as a barrier against moisture, UV rays, and other external elements that can degrade the stucco over time. Consult with a professional to determine the most suitable protective coating for your specific stucco type and climate.
Hiring a Professional for Stucco Hole Repair
While small stucco hole repairs can be tackled by DIY enthusiasts, larger and more complex repairs may require the expertise of a professional contractor.
Considering the Complexity of the Task
If the stucco hole repair involves a large area, intricate detailing, or structural concerns, it is advisable to hire a professional. They have the experience and knowledge to handle complex repairs safely and effectively, ensuring the longevity and integrity of your stucco.
Finding a Reliable and Experienced Contractor
When hiring a professional for stucco hole repair, do your due diligence in finding a reliable and experienced contractor. Seek recommendations from friends, family, or neighbors, and check online reviews and testimonials. Make sure to request proof of insurance and licensing to ensure you are working with a qualified and trustworthy professional.
Safety Precautions for Stucco Hole Repair
Repairing stucco holes, whether small or large, requires taking certain safety precautions to protect yourself and ensure a smooth and accident-free repair process.
Wearing Protective Gear
Always wear proper protective gear when working on stucco hole repair. This includes gloves, goggles, and a dust mask to protect yourself from potential injuries and airborne particles. Stucco dust can be irritating and harmful when inhaled, so taking precautions is essential.
Working on Solid and Stable Surfaces
When working on stucco hole repair, ensure that you are working on solid and stable surfaces. Avoid working on ladders or scaffolding unless you are experienced and have taken appropriate safety measures. Use sturdy and secure platforms or scaffolding that can support your weight and provide a stable work surface.
Troubleshooting Stucco Hole Repairs
Sometimes, even with the best intentions and efforts, stucco hole repairs may present certain issues that require troubleshooting and further attention.
Dealing with Cracks in the Patched Area
If cracks start to develop in the patched area, it may indicate underlying issues or insufficient preparation. In such cases, it is best to consult with a professional to evaluate the situation and determine the best course of action. They can identify any potential structural concerns and recommend appropriate repairs or reinforcement.
Addressing Blending Issues
If the repaired area does not blend seamlessly with the surrounding stucco, there are a few steps you can take to improve the blending. One option is to feather the edges of the painted area more gradually, creating a smoother transition. Alternatively, you can consider repainting a larger section of the wall to create a more uniform appearance. If blending issues persist, seeking professional advice can help achieve the desired result.
By following these steps and guidelines, you can effectively repair stucco holes and maintain the beauty and integrity of your stucco finish. Remember to take precautionary measures, consider the complexity of the repair, and seek professional assistance when needed. With careful preparation and attention to detail, you can successfully tackle stucco hole repair and enjoy a seamless and long-lasting finish.


